This post may contain affiliate links which means if you purchase something through that link, I will make a small commission at no additional cost to you. Think of it as buying a cup of coffee for me on someone else. Thanks & enjoy!
Get your US Tourist B1/B2 Visa ready because you’re going to see what the United States has to offer! Though I understand US visa is probably one of the hardest visas in the world to get but it is all worth it. In this post, I’ll be giving you a step-by-step guide, a list of the requirements, my experience throughout the whole application process, interview questions, and other tips to help you get your US tourist visa!
Photo by Patrick Tomasso on Unsplash | Dantravels.org
But again, just like in other visa application blogs I’ve written, no one can give you the guarantee of your US tourist visa’s approval – not me, not even a lawyer or a travel agent. If anyone does, is most likely a scammer!
I know you must have heard tons of horror stories from people regarding their denied US visa applications. Because of the huge number of Filipino illegal immigrants, the US Government is very strict about its immigration laws.
It’s alright to feel nervous. I was nervous, too! But for now, let’s set aside those negative thoughts. Let’s be positive so that that positive energy will radiate to the people around you.. even to the interviewer! =)
Anyway, enough of that and let’s get started!
US VISA B1/B2 FOR TOURISTS
The B1/B2 visitors visa is for people traveling to the United States temporarily for business (B1) or for pleasure or medical treatment (B2)
B1 visa is for attending business conventions and educational conferences
B2 visa is for tourism, visiting friends or relatives, medical treatment
To be granted a US tourist visa, you must be able to prove that:
your visit is only temporary
you have enough money to cover all your expenses during your stay
you have binding ties that ensure your return to your country
WHEN AND WHERE TO APPLY
WHEN: Application shall be made at least 2 months prior to your intended departure. But since I was on a hurry, I did it all in a month! =) Here is my application timeline:
Day 1: Read Blogs
Day 5: Book Hostel Accommodations (I need this information prior to submitting the Application form online).
Day 6: Get myself an ID picture both digital and hardcopy
Day 8: Pay for the Visa Fee
Day 9: Submit Application Form Online (I am rushing, I know!)
Day 9: Schedule Interview Appointment. Note that I chose the earliest available date which is 21 days away!
Day 30: Day of Interview. On this day, you’ll immediately know whether you’re approved or not.
WHERE: Application and personal appearance interview will take place at the U.S. Embassy in the Philippines at 1201 Roxas Boulevard Manila, Philippines 1000. Please be at the Embassy gate 30 minutes prior to your interview
GET YOUR US TOURIST VISA IN 5 EASY STEPS
STEP 1: PAY THE VISA FEE
There are 2 ways to pay US Visa Application Fee:
Online via BPI website or Bancnet website
Directly at the BPI Bank Branches
In my case, I chose to pay it directly to the BPI Bank Branches.
Go to the visa info page of the US Embassy website. As of April 2019, the visa fee is USD160. This is the costliest visa fee I’ve ever paid!
Then go to this page. Download and print your $160-deposit slip. Or click HERE to download directly the slip.
US Tourist Visa Cash at Bank Payment Option | Dantravels.org
NOTE: There is an expiration date on the deposit slip. Ensure that you pay it before it expires!
US Tourist Visa Bank Deposit Slip | Dantravels.org
NOTE: Visa Fee are non-refundable & non-transferable. After you have paid the visa application fee, keep the BANK receipt for your records. It cannot be replaced if it is lost. You will not be able to schedule an appointment without your receipt number.
STEP 2: FILL UP THE VISA APPLICATION (DS-160) FORM
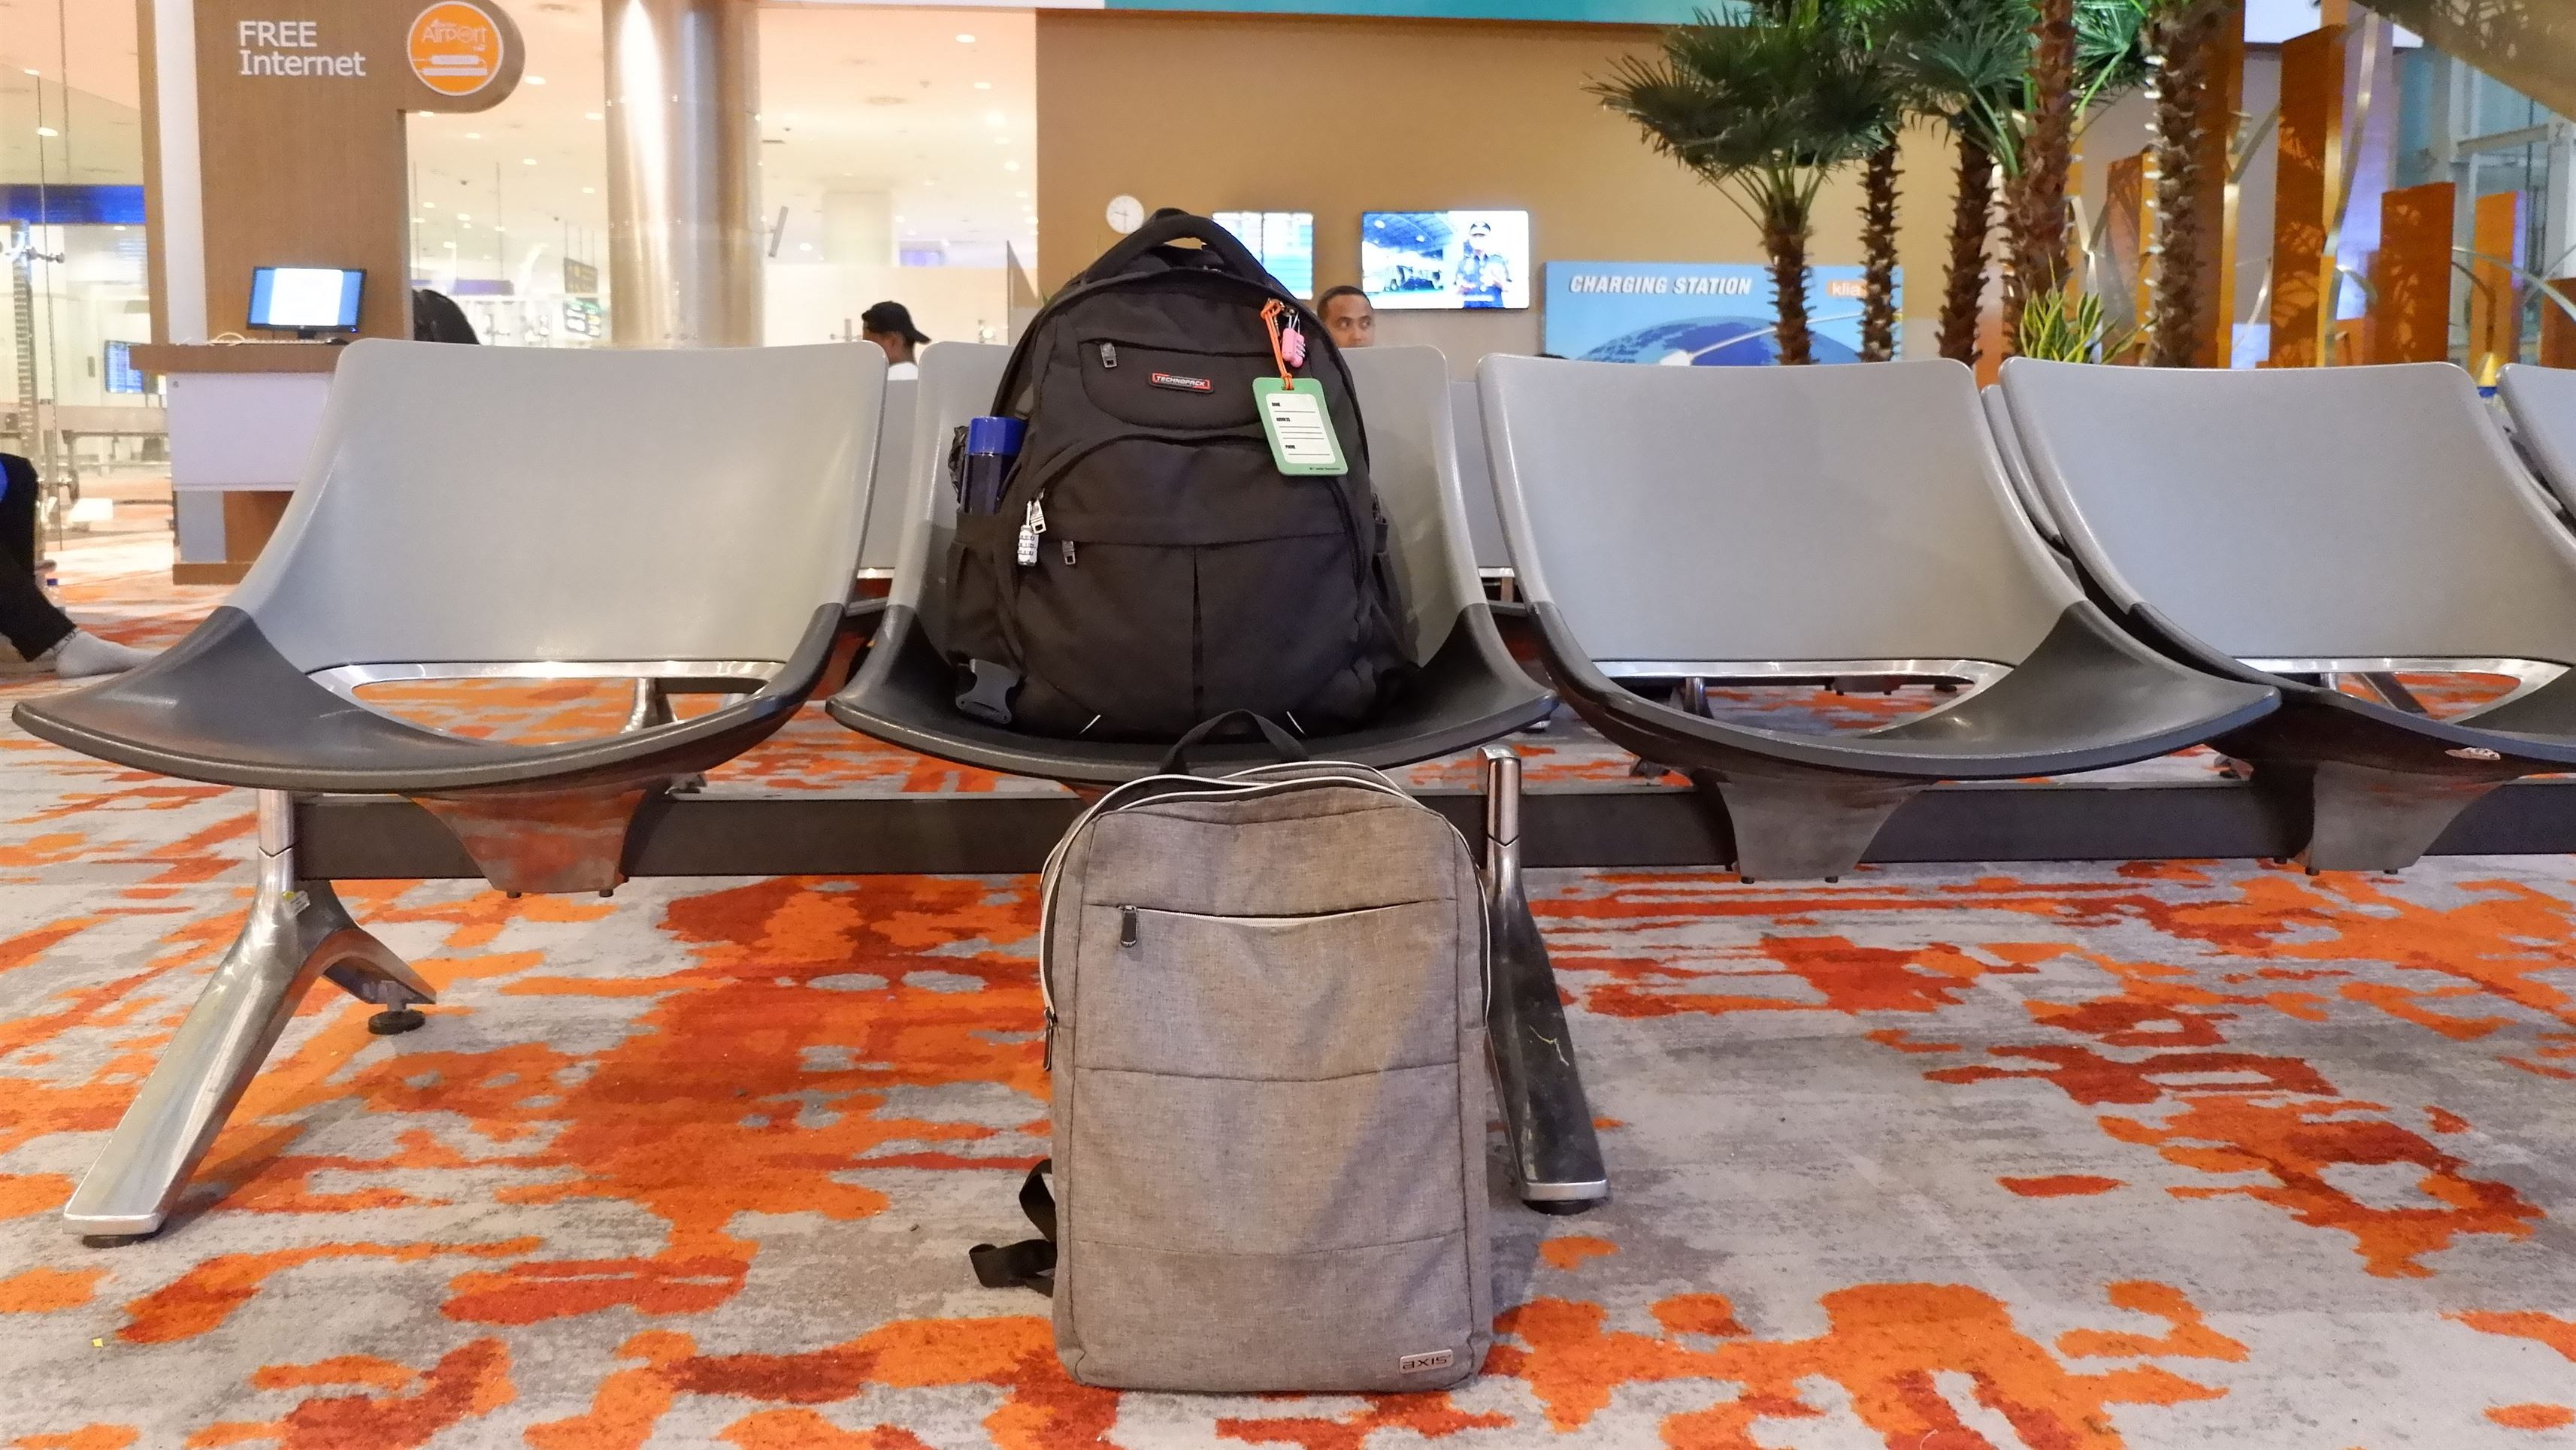
If you are a solo backpacker like me, you need to book first your room accommodation. You will need this information to answer the form of where you’ll be staying.
TIP: I usually book my hostel accommodation at booking.com. Thus, I recommend you guys trying it as well. Room accommodation ranges from cheap hostels to luxury hotels. Book hostels through booking.com as they have free cancellation or pay-at-the-hotel option.
Use my link to book your hostel and you’ll get 10% of your booking back after your stay. Click this link to get that discount.
Or try Airbnb in finding comfy and cozy rooms! I have used Airbnb on some of my other trips and I loved it!
Have you tried Airbnb? Sign up with my link and you will get up to 42 USD (2,200 Php) off your first stay. Click this link to get that discount.
To start filling up your own form, click this link (DS-160 Form). You can access a DS-160 form sample in this link as your reference.
NOTE: Prepare also your 2″x2″ digital photo. This will be uploaded on your application form.
US Tourist Visa DS-160 Form | Dantravels.org
TIP: Be brutally honest when filling up the application form. The interviewer will base his/her questions on your filled up form. So when he/she caught you lying from something that you wrote in the form, you’re dead! =(
The confirmation number generated after filling up the form is needed to set up appointment. Shown below is my confirmation page, please print this as you’ll be needing this during the day of your appointment.
Confirmation Page | Dantravels.org
STEP 3. SCHEDULE APPOINTMENT
After making payment (step 1) and completing the DS-160 Form (step 2), you can now schedule your appointment. Prepare these 3 info: Passport Number, Paid Receipt Number, and Confirmation Number. Go to this SITE to schedule your appointment.
US Visa Appointment Site | Dantravels.org
Once done, save and print you appointment letter. The appointment letter should look like this – see below.
STEP 4. PREPARE OTHER SUPPORTING DOCUMENTS
Once you’re done setting up your appointment online and while waiting for your appointment day, you need to prepare supporting documents. In order to support your answer during the interview, the interviewer will most likely ask for proof of documents. Here are the set of documents I’ve prepared:
Old Passport – To prove your travel history. Your travel history will most likely be asked during your interview like ‘Have you traveled before?, Where and When?’.
Hostel Booking – I usually book my hostel accommodation at booking.com. They have free cancellation options.
Have you tried Airbnb? Sign up with my link and you will get up to 42 USD (2,200 PHP) off your first stay. Click this link to get that discount.
Itinerary of planned tourism activities
I can provide you a copy of mine if you like. Just leave a reply on the comment section below.
Latest Income Tax Return (ITR), Certificate of Employment, Payslips, Bank Passbook / Bank Certificate.
Travel Insurance – I highly recommend getting travel insurance from World Nomads.
STEP 5: GO TO THE EMBASSY AND KILL THE INTERVIEW!
Visit the U.S. Embassy on the date and time of your interview. Bring a printed copy of your Appointment confirmation, DS-160 confirmation page, One recent 2″x2″ photo ID, and all passports. NOTE: Applications without all of these items will not be accepted.
There are also things NOT allowed inside the Embassy such as mobile phones. Interview proper is next. I created a separated blog post from experience during the interview. Click HERE to read.
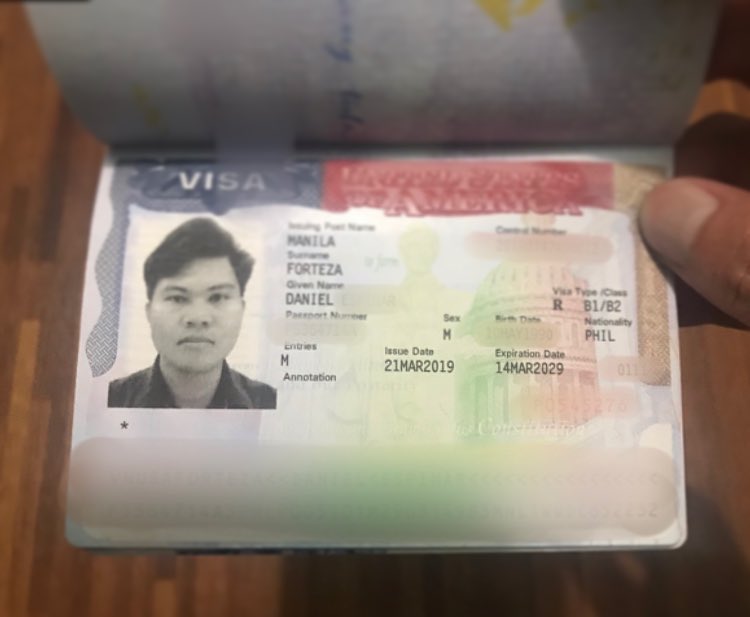
After the interview, you’ll know immediately if your visa is approved or denied. By the way, I was approved and got my 10-year multiple entry US visa after 3 days! So I wish you all the best! =)
My US Visa | Dantravels.org
SUMMARY:
Visa Type: B1/B2 (Business/Tourism)
Visa Validity: 10 Years
Entry type: Multiple Entry
Visa Fee: USD160.00
RECOMMENDED PACKAGE TOURS
I highly recommend booking tours through Viator which is perfect for your U.S. itinerary:
My interview happened this morning (March 19th). My schedule was for 9:45 AM, and by 9:30 AM, I was already in the waiting hall. At 9:55 AM, we were directed inside for the three stages of the application:
Pre-screening
Fingerprint Scanning
The Interview
The most interesting part is the INTERVIEW. I kept telling myself, “You got this, Daniel!” As I moved closer to the windows, a Filipino couple let me go ahead of them. I later realized they were avoiding the interviewer on the leftmost side—she was loud, dominant, and had just rejected the lady in front of her. That’s when I got really nervous!
THE INTERVIEW TRANSCRIPT
ME: Good morning, Ma’am. (I handed over my passport)
INTERVIEWER: Good morning. (Looking at her computer) What will you do in Los Angeles?
ME: Hollywood… Hollywood Walk of Fame… (I went blank for a second) Ro-rodeo Drive, Venice Canals—the famous ones.
INTERVIEWER: (Sees my Turkish visa) Oh, you went to Turkey. What did you do there?
ME: I went backpacking, Ma’am. I have been to 21 countries before.
INTERVIEWER: How do you fund your travels?
ME: I have a job here in the Philippines, Ma’am.
INTERVIEWER: What kind of company?
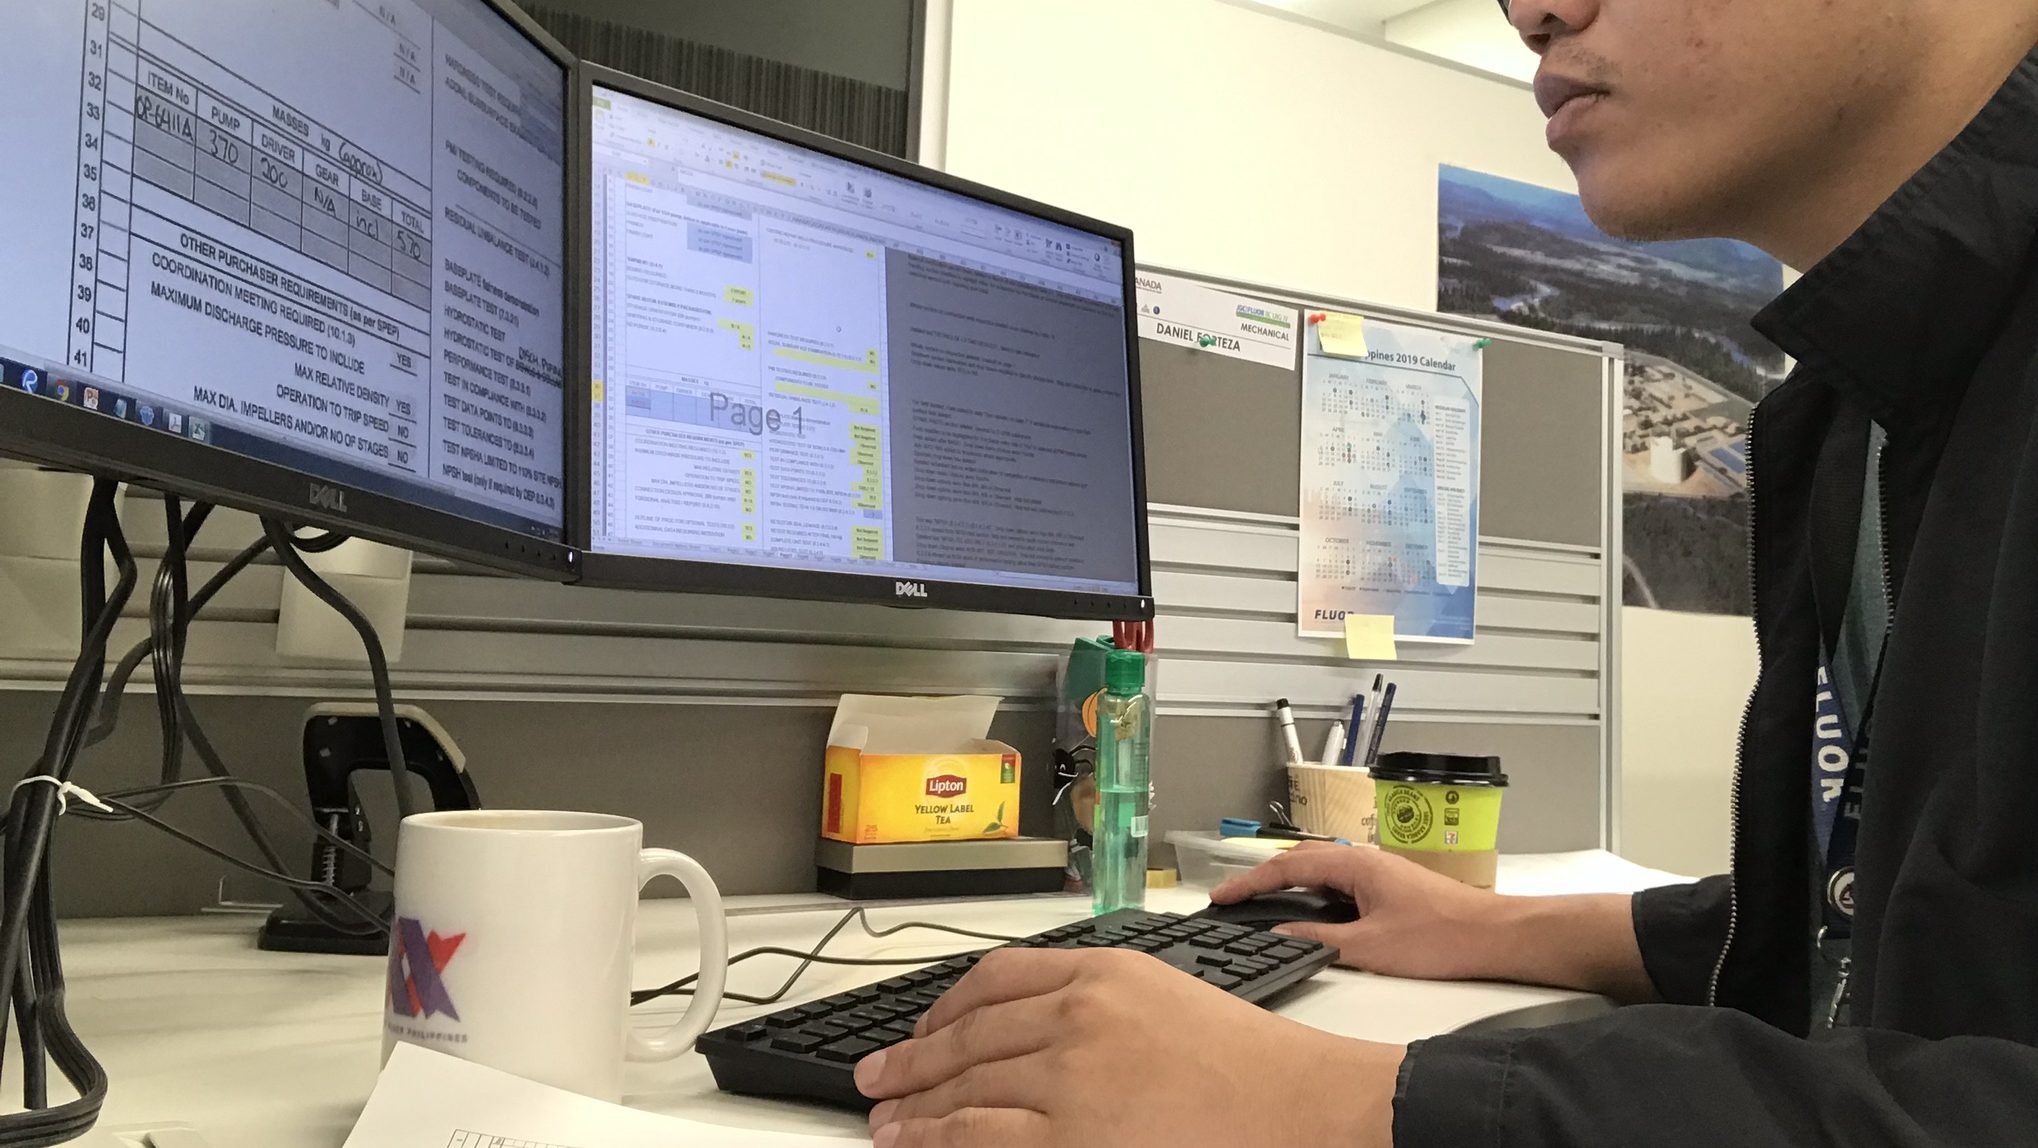
ME: I work as a Mechanical Engineer for an engineering firm.
INTERVIEWER: But what does your company actually do?
ME: (Blank again!) We buy equipment… basically, we’re a contractor and a middleman between the client and the vendor to build power plants. It’s in the Oil and Gas industry.
INTERVIEWER: Alright. What other countries have you been to?
ME: Recently, I went to South America—
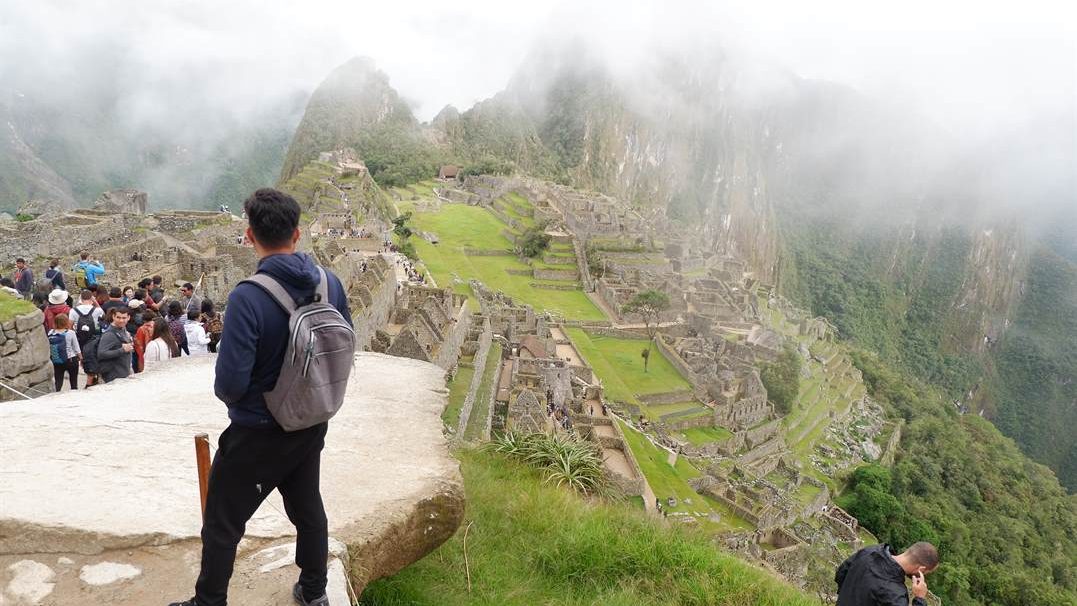
INTERVIEWER: (Cuts me off) Yeah, you have a Peru stamp. Where did you go in Peru?
ME: I went to Lima, Cusco, and Machu Picchu.
INTERVIEWER: What college degree did you finish?
ME: Mechanical Engineering at Sorsogon State College.
INTERVIEWER: SORso-what?
ME: SORSOGON State College.
INTERVIEWER: When did you graduate?
ME: April 2011.
INTERVIEWER: How do you travel so much despite your work?
ME: I normally file leave for 4 days to a week. For South America, I used 2 weeks because I sacrificed my Christmas vacation for it.
INTERVIEWER: Who do you live with? Where is your family?
ME: I live alone in a rented room. My family is in my hometown, Sorsogon. It’s about 600km from here.
INTERVIEWER: Backpacking in Los Angeles. Interesting. How do you do backpacking?
ME: It’s a low-cost style of travel, for example, staying at hostels.
INTERVIEWER: Do you have relatives in the US?
ME: No, Ma’am.
INTERVIEWER:Your visa is approved. You’ll have it in one week.
ME: Thank you so much!
*Phewww*
Yep! She did not ask for any documents. The interview was 5-8 minutes long I think. It went fast. But I must admit the first minute of the interview, I was nervous and shaky.
I know you’re nervous, too. And it’s okay. But just like myself, you’re gonna rock this!!! Just be true to your intentions but also make sure you established your rootedness to the Philippines. You need to convey to them that you will return after your touristic trip. That is very important. Like in my case, I have to come back to work after my trip.
💡 TOP 3 TIPS TO NAIL YOUR INTERVIEW
Be Brutally Honest & Consistent: The interviewer already has your DS-160 data on their screen. If you wrote “backpacking,” stick to it! Don’t try to sound like a luxury traveler if you aren’t one. Like I did, it’s okay to admit you’re staying in hostels—they value consistency over “rich” stories.
Prove Your “Rootedness”: This is the most important part! You need to show them you have every reason to come back to the Philippines. Mention your job, your family in the province (like my 600km connection to Sorsogon), or your rental commitments. They need to know you aren’t going there to stay illegally.
Keep Your Composure (Even if you blank out!): I went blank twice during my interview—once about the places in L.A. and once about my own job description! It happens. Just stay calm, smile, and explain it simply. You don’t need a perfect “script”; you just need to be a real person.
Bonus Tip: Don’t let the “loud” interviewers at the other windows scare you. Focus on your own window and your own story!
Feel free to read a separate blog I made on How To Apply A US Visa With Your Philippine Passport HERE. It is a step-by-step guide to apply for your US Visa.
If you have any questions, feel free to leave a reply below. I will respond as soon as I can to help you somehow. That’s a promise.
This post may contain affiliate links which means if you purchase something through that link, I will make a small commission at no additional cost to you. Think of it as buying a cup of coffee for me on someone else. Thanks & enjoy!
India is so much more than just the Taj Mahal. India to me is a mix of everything. It is astonishing and fascinating; it is loud and crowded. It is INCREDIBLE and always calls for an adventure! Now, if you’re planning to visit India and looking for a guide on how to apply for an Indian e Visa (or Indian Tourist Visa), then you’re in the right place.
Red Fort in Delhi | Dantravels.org
In this guide, I’ll walk you through how to get the Indian e-Visa (formerly called ETA). This is the best visa option if your purpose is tourism, visiting friends/family, or short-term stays.
The term “ETA” is now rarely used. The system is officially called “e-Visa”.
WHAT IS THE INDIAN E-VISA?
The Indian e-Visa was introduced in 2014 and has expanded significantly over the years. It now includes categories such as e-Tourist, e-Business, e-Medical, and e-Conference visas.
As of 2026, most travelers (including Filipinos) apply under the e-Tourist Visa, which is available in 30-day, 1-year, and 5-year validity options.
Getting an e-Visa is fast and straightforward. In many cases, approval comes within a few days.
Processing usually takes up to 72 hours, but it’s best to apply at least 4–7 days before your travel date.
But just like any visa application, approval is never guaranteed. Be careful of anyone claiming guaranteed approval—it’s most likely a scam.
ELIGIBILITY REQUIREMENTS
You are eligible for an Indian e-Visa if:
Your purpose is tourism, visiting friends/family, short yoga programs, or short-term business/medical visits.
You have a passport valid for at least 6 months from your arrival date.
You have a return or onward ticket.
You have sufficient funds for your stay.
Activities such as employment, journalism, or long-term study are NOT allowed under e-Visa.
You must also enter India through designated airports or seaports.
The list of entry points is regularly updated, so always verify from the official e-Visa website before your trip.
If you meet all requirements, then you’re good to proceed!
HOW TO APPLY FOR INDIAN E-VISA (STEP-BY-STEP)
STEP 1: PREPARE YOUR DOCUMENTS
Passport (Bio Page) – Save as PDF (recommended under 300KB–500KB)
Recent Photo – White background, JPEG format (under 1MB)
Accommodation Details – Hotel or hostel booking
Blurry photos or incorrect sizes are one of the most common reasons for delays or rejection.
TIP: You can scan documents using mobile apps like CamScanner, Adobe Scan, or Microsoft Lens.
You can book your accommodation via Booking.com — from budget hostels to luxury hotels.
STEP 2: APPLY ONLINE
Go to the official Indian e-Visa website and fill out the application form.
⚠️ IMPORTANT: Only apply through the official Indian government website. Many fake websites charge extra fees.
Fill in your personal details, travel info, and upload your documents.
STEP 3: PAY THE VISA FEE
After completing the form, you will be asked to pay the visa fee online using a debit or credit card.
As of 2026, Filipino travelers can avail a FREE 30-day Indian e-Tourist Visa (valid for double entry) until July 31, 2026. After this period, regular visa fees will apply depending on the visa type (1-year and 5-year visas are NOT free).
STEP 4: RECEIVE YOUR E-VISA
Once approved, your e-Visa will be sent to your email. Print a copy and bring it with you when traveling.
Always bring a printed copy and keep a digital copy on your phone for backup.
FINAL TIPS
Apply at least one week before your trip
Double-check all uploaded documents
Avoid third-party visa websites
Keep copies of all documents
And that’s it! The process is simple, fast, and very doable even for first-time travelers. India is truly an unforgettable destination—hope this guide helps you get there!
This post may contain affiliate links which means if you purchase something through that link, I will make a small commission at no additional cost to you. Think of it as buying a cup of coffee for me on someone else. Thanks & enjoy!
UPDATE 2026: This guide has been updated to reflect the latest South Korean tourist visa application process for Filipinos, including stricter requirements, longer processing times, and updated embassy policies.
South Korea is no country like others. I’m sure that a majority of us Filipinos have been influenced by Korean media at some point of our lives, may it be K-Pop or Koreanovelas. So for those of you dying to see what Korea has more to offer. This is it! A first step to make that a reality is getting a Korean Tourist Visa.
Busan Train Station in South Korea | Dantravels.org
If you’re here looking for a guide on how to apply for your South Korean Tourist Visa, then you’re in the right place.
But before I give you the details, I’d like to start off by saying that no one can give you the guarantee of your visa’s approval – not me, not even a lawyer or a travel agent. If anyone does, is most likely a scammer.
As a travel blogger, what I can offer you here is just a guide with helpful tips to increase your chances of getting that tourist visa. =)
UPDATE 2026: The application process is still done through accredited travel agencies, but most now require appointments or pre-screening. Walk-ins at the embassy are generally no longer allowed for tourist visa applications.
But no worries, the application process for Korean tourist visa is so simple and starting this 2018, the Korean Embassy is coursing applications through travel agencies. If you’re familiar with the Japan Visa application process, it works pretty much the same. Click HERE to read my blog on getting a Japanese Tourist Visa.
WHEN TO APPLY YOUR KOREAN TOURIST VISA
You can apply as early as 2-3 months prior to your departure date. For single entry, the Korean visa is 3-month valid and you can enter Korea at any time within the next 3 months of the issue date.
UPDATE 2026: It is highly recommended to apply at least 1–2 months in advance due to longer processing times and higher application volume.
Say, for example, if your intended flight is May 1, then you can apply as early as March 1. If it got approved March 4, then you are can now enter Korea from March 4 – June 4 (3-month period).
In addition, a single-entry Korean tourist visa is only permitted to stay in South Korea for a maximum period of 59 days.
UPDATE 2026: Visa validity and allowed stay (59 days) remain the same, but approval is now stricter compared to previous years.
GET YOUR KOREAN TOURIST VISA IN 3 EASY STEPS!
STEP 1: PREPARE THE REQUIRED DOCUMENTS
MAJOR REQUIREMENTS
Duly Accomplished Application Form
Please download HERE the application form for Korean tourist visa
Must be typewritten, NOT handwritten. Recommended font size is 13 – 14.
Signature is still manually done on the page 4.
Must be filled out completely and correctly
Must be printed in A4-sized paper
UPDATE 2026: Typed application forms are still strongly recommended, but some agencies may accept neatly handwritten forms. Always confirm with your chosen travel agency.
For questions that are not applicable for you, kindly leave it blank
Example = Spouse name if you are single(4.2)
If you do not have a Korean Sponsor, leave question 8 blank
If you will pay for your tour, answer question number 9 in this manner
9.1 = 1,000
9.2 a) = Your Name (If you will pay your expenses)
9.2 b) = “Myself”
9.2 c) = “All Expenses”
9.2 d) = (Your Contact Number)
NOTE: On section 7 of the form, you’ll be asked to put your address and contact number in Korea. If you intend to stay in a hostel like I did (since I’m solo backpacking), I use the address and contact number of my hostel in South Korea.
UPDATE 2026: Providing confirmed accommodation details (hotel/hostel/Airbnb) is now more important and may be checked more strictly.
One Passport-Sized ID Photo
Must be with white background
Must be glued on the designated area of the Application Form
Original Passport
Must be at least 6 months valid from your intended flight
Photocopy of Passport’s Bio page
Photocopy of all OECD Visa
If you have visas to any member of Organization for Economic Co-operation and Development (OECD), you will need to submit the original copy and photocopy including arrival stamps to OECD member countries for the past 5 years
UPDATE 2026: OECD visas still help strengthen your application, but they no longer guarantee faster processing or approval.
If invited by Korean
An Invitation Letter
A Copy of Inviter’s Passport
UPDATE 2026: Travel history (Japan, US, Schengen visas) is now a major factor in approval. Applicants with strong travel history have higher chances.
ADDITIONAL REQUIREMENTS FOR EMPLOYEES
Original Certificate of Employment
Must include applicant’s position, date hired, compensation, office address, HR landline number (cell-phone number is not allowed)
Original Personal Bank Certificate
Must include account type, current balance, account opening date, ADB
Bank Statement
Must be original or certified true copy of bank statements/passbook for the last 3 months
Photocopy of ITR (Income Tax Return) or Form 2316
Copy of PRC Card or IBP Card (If applicable only)
UPDATE 2026: Financial documents are now reviewed more strictly. Sudden large deposits or inconsistent cash flow in your bank statement may negatively affect your application.
ADDITIONAL REQUIREMENTS FOR SELF-EMPLOYED
Photocopy of Business Registration from SEC or DTI
Photocopy of Business Permit or Mayor’s Permit
Photocopy of ITR (Income Tax Return) or Form 2316
Original Personal Bank Certificate
Must include account type, current balance, account opening date, ADB
Bank Statement
Must be original or certified true copy of bank statements/passbook for the last 3 months
Copy of PRC Card or IBP Card (If applicable only)
UPDATE 2026: Self-employed applicants may be asked for additional proof of business operations (e.g., invoices, receipts, or business transactions) depending on the agency.
ADDITIONAL REQUIREMENTS FOR STUDENTS
Original School Certificate
Photocopy of School ID
Copy of Birth Certificate
If parents are employed
Parents’ Original Certificate of Employment (must include employer details, landline, email, position, and compensation)
Copy of ITR (Income Tax Return) or Form 2316 Copy
If parents are self-employed
Copy of parents’ Business Registration from SEC or DTI
Copy of parents’ Business Permit or Mayor’s Permit
Photocopy of parents’ ITR (Income Tax Return) or Form 2316
Parents’ Original Bank Certificate
Must include account type, current balance, account opening date, ADB
Parents’ Bank Statement
Original or certified true copy of bank statements/passbook for the last 3 months
Copy of parents’ marriage certificate
UPDATE 2026: Sponsors (parents or guardians) must show strong financial capacity and stable income. Applications with weak financial proof are more likely to be denied.
If, however, you have a different situation or purpose of visit, it’s best that you visit the South Korea Embassy for more information and for the complete requirements.
UPDATE 2026: Always check the official embassy website or your chosen travel agency for the most updated requirements, as policies may change without prior notice.
STEP 2: SUBMIT YOUR DOCUMENTS TO YOUR CHOSEN TRAVEL AGENCY
The Korean Embassy accredited travel agencies where you can lodge your application.
The good news is, many of these travel agencies have branches all around the country, which means it’s easier for applicants in the provinces to apply.
UPDATE 2026: Applications are strictly processed through accredited travel agencies. Most agencies now require appointment booking or pre-screening before submission.
VISA FEE: A South Korea Visa is FREE of charge as long as you are only going to stay 59 days or less; however, these travel agencies charge for the service that they offer of processing/sending your application.
UPDATE 2026: Agency processing fees now typically range from Php 1,000 to Php 2,500 depending on the agency.
For stays spanning from 60 to 90 days, the embassy charges a fee of about Php 1,800.
UPDATE 2026: Most tourist applicants apply for short-term stay (59 days or less), which remains free of embassy charge.
To date, below are the accredited travel agencies, as listed below:
UPDATE 2026: The list of accredited travel agencies may change over time. It is recommended to check the official embassy website for the most updated list before applying.
ABOEX Travel and Tours
Adventure International
Ark Travel Express Inc.
Blue Horizons Travel and Tours Inc.
Budget Travel and Tours Inc.
Casto Travel Philippines Inc.
City Travel & Tours Corporation
COME ON PHILS. Golf and Travel Agency Inc.
Constellation Travels, Inc.
First United Travel Inc.
Getaway Tours International Inc.
Grand Hope Travel, Inc.
Hanatour Manila Inc.
H.I.S. (PHILIPPINES) Travel Corp
HANKOOKCEB Corp.
Horizon Travel & Tours, Inc.
International Journeys Inc.
Island Resort Club Tour Services, Inc.
JTB Asia Pacific Phil. Corp.
KP JOEUN Consultancy Inc.
Las Palmas Tours and Travel Agency, Inc.
Marsman Drysdale Travel Inc.
MNK Travel & Tours Corp.
North Star International Travel, Inc.
Pan Pacific Travel Corporation
Party-on Travel and Tour Community, Inc.
Rajah Travel Corporation
Rakso Air Travel and Tours Inc.
Reli Tours and Travel Company
Sharp Travel Service (Phils.) Inc
Swire Travel Phils, Inc.
The Baron Travel Corporation
Travel Pros
Travelservices, Inc.
Uni-Orient Travel, Inc.
IMPORTANT NOTE: The consulate in Cebu still accepts direct applications, and for your information only, below are the address details of Korea’s embassies in the Philippines:
UPDATE 2026: Most applicants are now required to apply through accredited travel agencies. Direct applications (including Cebu) may be limited or subject to specific conditions. It’s best to confirm first before going directly.
Korean Embassy in Manila 122 Upper McKinley Road, McKinley Town Center, Fort Bonifacio, Taguig Email Address: ph04@mofa.go.kr Telephone: (63-2) 856-9210
Korean Consulate in Cebu 12th Floor Chinabank Corporate Center, Lot 2, Samar Loop Cor. Road 5, Cebu Business Park, Cebu Email Address: phi_cebu2015@mofa.go.kr Contact No.: (63-32) 231-1516(-9)
UPDATE 2026: Contact details may change. Always verify through the official Korean Embassy website before visiting.
Now if you asked me –
‘WHAT IS YOUR RECOMMENDED TRAVEL AGENCY TO GET A BETTER CHANCE OF APPROVAL?’
I couldn’t really answer that as there is no best travel agency when it comes to visa approval. They, too, have no control whatsoever over that matter. these accredited travel agencies simply ensure that the documents you are going to give are complete. After which, they just pass it to the embassy who makes the analyzation and final decision.
UPDATE 2026: Approval rates depend more on your financial capacity, travel history, and document consistency rather than the agency you choose.
In my experience, however, I chose Reli Tours and Travels in Southmall Las Pinas just simply because they’re close to where I live. They are also the agency I applied for in my Japanese visa application which later got also approved =)
Reli Tours and Travel at SM Southmall | Dantravels.org
PROCESSING TIME: 7 Working Days
Per Korean Embassy, their processing time is:
3 working days – Manila applications with OECD visas within the past 5 years 5 working days – Manila applications without OECD visas 7 working days – Cebu applications with or without OECD visas
But since this will now be handled by the agency, it is safe to add a day or two. Some can take shorter, some longer, depending on your case, but it is safe to say 7 working days.
UPDATE 2026: Processing time is now typically 5–10 working days, but may take longer during peak seasons (e.g., cherry blossom or autumn). Delays are common.
If you don’t have that much time, you can avail of the RUSH PROCESSING OPTION, which will expedite the of visa to only 2 days. But it comes with a USD20 express fee.
UPDATE 2026: Rush/express processing is generally no longer available for tourist visas.
STEP 3. CLAIM YOUR PASSPORT WITH VISA (HOPEFULLY!)
Pick up your passport (hopefully with a visa sticker attached) when you are informed by your travel agency. Agency will normally send a text message to you once you’re passport is ready for pick up.
UPDATE 2026: Some agencies now also offer courier delivery of passports for an additional fee.
By the way, here is what a Korean Visa look like.
My South Korean Visa Sticker | Dantravels.org
UPDATE 2026: Some visas are now issued electronically (no sticker), but many applicants still receive a visa sticker. This depends on the embassy’s current system.
I believe that as long as you have completed the requirements and your intention is purely tourism then most likely your visa will be approved. =)
UPDATE 2026: Approval is not guaranteed even with complete documents. Strong financial proof, stable employment, and clear travel intent are key factors.
If you have questions, feel free to leave a reply on the comment section below and I promise to get back to you as soon as I can.
Good luck and all the best on your Korean tourist visa application!
SUMMARY:
Visa Type: Tourist Visa Visa Validity: 3 Months Entry type: Single Entry Visa Fee: FREE (Handling Fee Php 700.00 by Reli Tours & Travel)
UPDATE 2026: Handling fees now typically range from Php 1,000 to Php 2,500 depending on the agency.
BOOKING ESSENTIALS
Hotel / Hostel
Booking.com. I usually book my hostel accommodation at booking.com. Thus, I recommend you guys trying it as well. Room accommodation ranges from cheap hostels to luxury hotels. Book hostels through booking.com as they have free cancellation or pay-at-the-hotel option.
Use my link to book your hostel and you’ll get 10% of your booking back after your stay. Click this link to get that discount.
Airbnb. Try Airbnb in finding comfy and cozy rooms! I have used Airbnb on some of my other trips and I loved it!
Have you tried Airbnb? Sign up with my link and you will get up to 42 USD (2,200 Php) off your first stay. Click this link to get that discount.
Flights
KAYAK. All of my flight bookings are all from KAYAK. Kayak is one of the world’s leading travel search engines and searches hundreds of travel sites.
I suggest you check Kayak (click HERE) as they usually offer cheap fare rates compared to other booking sites.
Travel Insurance
World Nomads. If you don’t have travel insurance when times get tough, basically you are screwed. Traveling always comes with inherent risks attached. Whether you are trekking in the Seoraksan mountains or wandering the streets of Seoul, unforeseen events can suddenly upend your world. Generally speaking, travel insurance covers you for the following: Medical Costs, Property Loss, and Travel Issues. Thus, I highly recommend you guys getting a travel insurance.
This post may contain affiliate links which means if you purchase something through that link, I will make a small commission at no additional cost to you. Think of it as buying a cup of coffee for me on someone else. Thanks & enjoy!
To visit Japan has always been a dream of many Filipinos, including myself. I mean, who doesn’t? But for us Pinoys, it is always a struggle to get that ‘visa’ approved. Now in this blog post, I’ll show you the step-by-step procedure on how to file your Japanese tourist visa application and also I would be happy to share how I quickly got my visa approved.
UPDATE (2026): This guide has been updated to reflect the latest Japan visa application process for Filipinos, including updated requirements, photo size, and application channels.
UPDATE (2026): Removed inline styling for cleaner code and better theme compatibility.
But first, I’d like to start off by saying that no one can give you the guarantee of your Japanese visa’s approval – not me, not even a lawyer or a travel agent. If anyone does, is most likely a scammer.
As a travel blogger, what I can offer you here is just a guide with helpful tips to increase your chances of getting that Japan Visa.
NOW WITHOUT FURTHER ADO, let’s start with the step-by-step process on how to apply for your Japanese visa!
GET YOUR JAPANESE TOURIST VISA IN 4 EASY STEPS
STEP 1: IDENTIFY THE TYPE OF JAPANESE VISA YOU’RE APPLYING FOR
Yes, there are different type of Japanese visas – tourist visa, transit visa, visa for spouse of Japanese national, visa for commercial purposes…yep! There are heaps of different kinds.
For this particular blog, I will only be focusing on the tourist visa which I have personally applied for.
If, however, you have a different situation or purpose of visit, it’s best that you contact the Japanese Embassy for more information and for the complete requirements.
UPDATE (2026): Most applicants are now required to apply through accredited travel agencies or the Japan Visa Application Center (JVAC). Direct applications to the embassy are only allowed in special cases.
STEP 2: PREPARE THE REQUIRED DOCUMENTS
Please take note that there are two (2) types of Japanese Tourist Visa – the one with guarantor/sponsor and the other one without guarantor/sponsor. During my application, what I applied for is ‘without guarantor’ because I’ll be funding the trip by myself. Yes, I was doing solo backpacking!
A. Requirements for Tourist Visa without Guarantor:
(1) Passport – Make sure that your passport is valid for 6 months prior to your intended travel date.
(2) A duly accomplished Japanese Application form – Please print it in A4 size. You can download this form here. You can also download the sample filled-out form here with the guide on how it should be filled out. Ensure that you have completely filled it out, put N/A if the information is not applicable to you.
(3) Recent 2″ x 2″ photo – The photo should have a white background. You’ll need this photo pasted on the application form.
UPDATE (2026): Japan visa photo size is now strictly 45mm x 35mm (not 2×2). Make sure to follow the official size to avoid rejection or delays.
(4) Original NSO Birth Certificate – You can request an original copy of this through online via PSA website. I got my mine which was home-delivered after three (3) working days. Click here for the link
UPDATE (2026): NSO has already been replaced by PSA. Submit a PSA Birth Certificate instead.
(5) NSO Marriage Certificate – This only applies if you’re married. In my case, this is not applicable. But you can request this also via online here, e-services are just hassle-free I think.
UPDATE (2026): Submit a PSA Marriage Certificate (not NSO).
(6) Day-to-day Itinerary in Japan – You can download this form by going to this link. Just fill it out as completely as you can. This doesn’t need to be detailed, the embassy just needs to see this to have an idea of your tourism activities while you’re in Japan.
I can provide you a copy of this that I used when I applied, just leave a reply in the comment section so I can forward it to you. =)
You will be asked here to provide your day-to-day activity as well as your hotel or hostel accommodation. By the way, I booked all my hostel accommodation at booking.com.
UPDATE (2026): Affiliate tracking links were simplified for cleaner SEO and better user trust.
Book hostels through booking.com as they have free cancellation or pay-at-the-hotel option.
Use my link to book your hostel and you’ll get 10% of your booking back after your stay. Click this link to get that discount.
UPDATE (2026): Cashback or referral discounts may no longer be available depending on region. Always verify current promos.
Or try Airbnb in finding comfy and cozy rooms! I have used Airbnb on some of my other trips and I love it!
Have you tried Airbnb? Sign up with my link and you will get up to 42 USD (2,200 Php) off your first stay. Click this link to get that discount.
UPDATE (2026): Airbnb referral credits like this have already been discontinued. This promo may no longer work.
(7) Bank Certificate – This should be an original copy issued by the bank. I got my bank certificate from PSBank for Php100. Note that the Japanese embassy did not mention the minimum balance in an applicant’s bank account. A lot of people are asking me about this. Well, when I applied, I have Php100,000+ in my bank account for a 9-day trip in Japan which I am confident would suffice the requirement. But I have read in some other blogs that others are granted with only Php50,000 balance for a 5-day trip. Also, just make sure you don’t deposit a sudden amount of money in order to assist your application, it would smell fishy!
UPDATE (2026): There is still no official minimum bank balance required. Your financial capacity should reasonably match your travel duration and expenses.
(8) Proof of Income – If you’re employed, just submit your Income Tax Return (ITR) and Certificate of Employment (COE) from your employer. I actually did not submit my COE because this was not required by Reli Tours which was my chosen travel agency for applying for the Japanese visa, only the ITR. If you’re unemployed, it would be best that you have a guarantor/sponsor for your trip.
UPDATE (2026): Requirements may vary slightly depending on the agency or JVAC, but ITR is still commonly required. Some applicants may also be asked for additional financial documents.
B. Requirements for Tourist Visa with Guarantor:
*If your guarantor is not a Japanese National and living outside Japan (e.g. this could be you mom, dad, boyfriend, or girlfriend that is sponsoring your trip). You need to submit all those documents under section “A. Requirements for Tourist Visa without Guarantor” except for (7) Bank Certificate and (8) Proof of Income. These two documents shall come from your guarantor. In addition to that, you need to submit a (9) Guarantee Letter (click here to download the template), (10) Photocopy of your guarantor’s Passport, and (11) Proof of Relationship document. This can simply be NSO Birth Certificate or Marriage Certificate if the guarantor is a family member.
UPDATE (2026): NSO documents should now be PSA-issued documents. Ensure all civil documents are from PSA.
*If your guarantor is not a Japanese National but living inside Japan (this could be a family member or a friend of yours living and working in Japan). You need to submit the documents under section “A. Requirements for Tourist Visa without Guarantor” – (1) to (6) requirements only. In addition to that, you need to submit a (7) Guarantee Letter (click here to download the template); (8) Photocopy of your guarantor’s Passport; (9) Your guarantor’s proof of income, these are Income Certificate (Shotoku Shomeisho), Tax Return Certificate (Nouzeishomeisho: Form2), Kakuteishinkokusho Hikae or Bank Certificate (Yokin Zandaka Shomeisho); (10) Foreign Registration Certificate of your guarantor; (11) Photocopy of Residence Card of your Guarantor.
UPDATE (2026): The “Foreign Registration Certificate” is now replaced by the Residence Card (Zairyu Card). Ensure copies are clear and valid.
If your Guarantor is a Japanese national, I will cover them soon as I came across with that situation. The reason is that most Filipinos I’ve talked to before only have Filipino guarantors (either living inside Japan or outside Japan).
UPDATE (2026): Requirements for Japanese national guarantors are already available on the embassy website. You may check there for the complete and updated list.
STEP 3: FIND AND CHOOSE AN ACCREDITED TRAVEL AGENCY
Please take note that the Japanese Embassy is no longer accepting direct visa application. Thus, you need to file your application through a travel agency accredited by the Japanese Embassy. The travel agency will process your application for you. Here are some of them:
Friendship Tours and Resorts Corporation (click website here)
UPDATE (2026): Applications are now commonly processed via Japan Visa Application Centers (JVAC) in partnership with accredited agencies. Some agencies may require appointments.
Application is actually free but the travel agency charges a handling fee of around 900-1200 (depending on your type of visa). More payment details are on their website linked above.
UPDATE (2026): Processing fees may now range higher (around PHP 1,000–1,500+) depending on the agency and service type.
In my opinion, there is no best travel agency to file your application. I personally preferred applying at Reli Travel and Tours in SM Southmall, Las Pinas because it is near where I live.
STEP 4: ONCE SUBMITTED, WAIT FOR THE RESULTS!
I was told by Reli Tours to wait for 7-10 business working days for my visa results, but to my surprise I got a text from them to get my passport after just 3 working days.
UPDATE (2026): Processing time is usually 5–10 working days, but may take longer during peak travel seasons (e.g., cherry blossom or holidays).
My Application documents in front of RELI TRAVEL and TOURS at SM Southmall | Dantravels.org
UPDATE (2026): Image source converted to HTTPS for better security and SEO.
MY PERSONAL EXPERIENCE:
In my experience, applying for Japanese Tourist Visa is not that difficult as long as you have completed the requirements specific for the visa type you’re applying. Mine is a Tourist Visa (no guarantor).
I applied at ‘Reli Tours and Travels’ situated at SM Southmall, Las Piñas City. Please note that you can only apply for the tourist visa through an accredited travel agency and one of those is Reli Tours as mentioned. The experience was really hassle-free. The agency has reviewed and filed it, and it took only like 10 minutes. (Note: The one who reviews it corrected the number of days of my stay, I counted it 8 and he corrected it to 9. So rest assured that the agency also checks it completeness.)
UPDATE (2026): Some agencies now require prior appointment or online pre-submission before visiting. Walk-ins may still be accepted but depend on the branch.
I was told by the agency that the tentative release date of passport (with approved visa hopefully!) is 7-10 working days. The agency will text you once your passport is ready for pick up.
UPDATE (2026): Processing time is typically 5–10 working days but may take longer during peak seasons.
Japanese Visa is free by the way! but the travel agency collects handling fee of P950.00 (tourist visa no guarantor). Please take note that the handling fee varies by the type of visa.
UPDATE (2026): Handling fees may now range around PHP 1,000–1,500+ depending on the agency.
So here is the quick ran through of the Japanese Tourist Visa Requirements via Reli Tours:
1. Passport.
2. Filled Up Application Form (you can also get the form through your travel agency’s website). Click here to get the application form from ReliTours.
3. Filled Up Detailed Itinerary Form (you can also get the form through your travel agency’s website). You will be asked here to provide your day-to-day activity as well as your hotel or hostel accommodation. I suggest you tentatively book your hostel at booking.com, then if ever your visa got denied (but hopefully NOT!), you can cancel these bookings with no cancellation fees. But anyway, I booked all my hostel accommodation at Booking.com.
In addition, you can click here to get the Itinerary form from ReliTours.
4. Latest Income Tax Return (BIR Form 2316)
5. Bank Certificate – I get mine from PSBank for 100Php. Now I get asked a lot if how much money the bank account has to have. Well, with mine, I have savings of 100K pesos but from other blogs I read – as long as you have 50USD per day and you have, of course, the main source of income, you’ll be fine.
UPDATE (2026): There is still no fixed required amount, but your funds should match your itinerary and travel duration.
6. Original NSO Birth Certificate
UPDATE (2026): Submit PSA Birth Certificate instead of NSO.
7. Recent 2″x2″ Photo
UPDATE (2026): Required photo size is now 45mm x 35mm.
That’s it!
After only 3 working days, I received a SMS text from Reli Tours that my passport is ready for pick-up. And it’s visa approved!
Japanese Visa Sticker on my Passport | Dantravels.org
UPDATE (2026): Image source converted to HTTPS for better security and SEO.
SUMMARY:
Visa Type: Tourist Visa; Temporary Visitor (Category V)
Visa Validity: 15 Days
Entry type: Single Entry
Visa Fee: Free but handling fee from ReliTours is PHP900.00
UPDATE (2026): Visa validity and entry type depend on the embassy’s assessment. Some applicants may now be granted multiple-entry visas.
BOOKING ESSENTIALS
Hotel / Hostel
Booking.com. I usually book my hostel accommodation at booking.com. Thus, I recommend you guys trying it as well. Room accommodation ranges from cheap hostels to luxury hotels. Book hostels through booking.com as they have free cancellation or pay-at-the-hotel option.
Use my link to book your hostel and you’ll get 10% of your booking back after your stay. Click this link to get that discount.
UPDATE (2026): Cashback/referral promos may no longer be available depending on region.
Airbnb. Try Airbnb in finding comfy and cozy rooms! I have used Airbnb on some of my other trips and I loved it!
Have you tried Airbnb? Sign up with my link and you will get up to 42 USD (2,200 Php) off your first stay. Click this link to get that discount.
UPDATE (2026): Airbnb referral credits like this have already been discontinued.
Flights
KAYAK. All of my flight bookings are all from KAYAK. Kayak is one of the world’s leading travel search engines and searches hundreds of travel sites.
I suggest you check Kayak (click HERE) as they usually offer cheap fare rates compared to other booking sites.
Travel Insurance
World Nomads. If you don’t have travel insurance when times get tough, basically you are screwed. Traveling always comes with inherent risks attached. Whether you are trekking in the Akaishi mountains or wandering the streets of Tokyo, unforeseen events can suddenly upend your world. Generally speaking, travel insurance covers you for the following: Medical Costs – hospital visits, emergencies, evacuations; Property Loss – luggage and their contents; Travel Issues – accommodation and transportation expenses. Thus, I highly recommend you guys getting a travel insurance. I bought one from the World Nomads (available in 130+ countries) where most travelers get their travel insurances.
Go to this link to get to your World Nomads travel insurance.
UPDATE (2026): Travel insurance is not mandatory for Japan visa, but highly recommended for safety and peace of mind.