By Dan Forteza
This post may contain affiliate links which means if you purchase something through that link, I will make a small commission at no additional cost to you. Think of it as buying a cup of coffee for me on someone else. Thanks & enjoy!
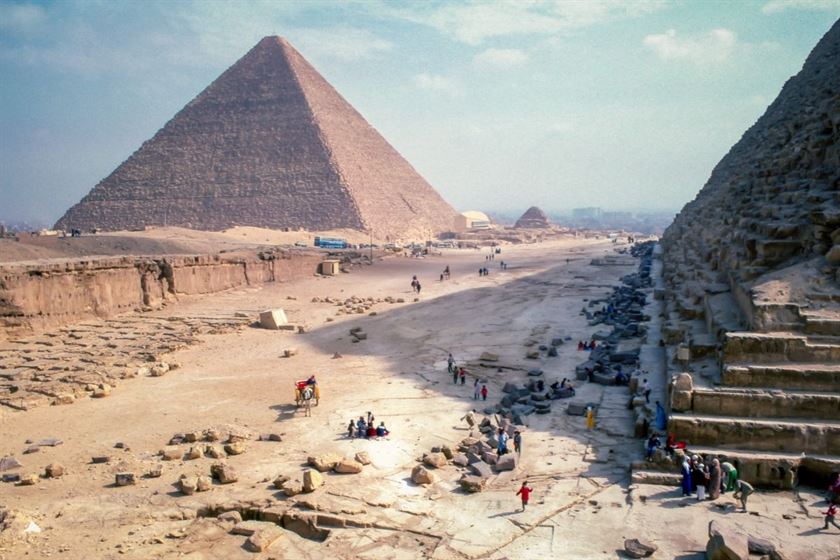
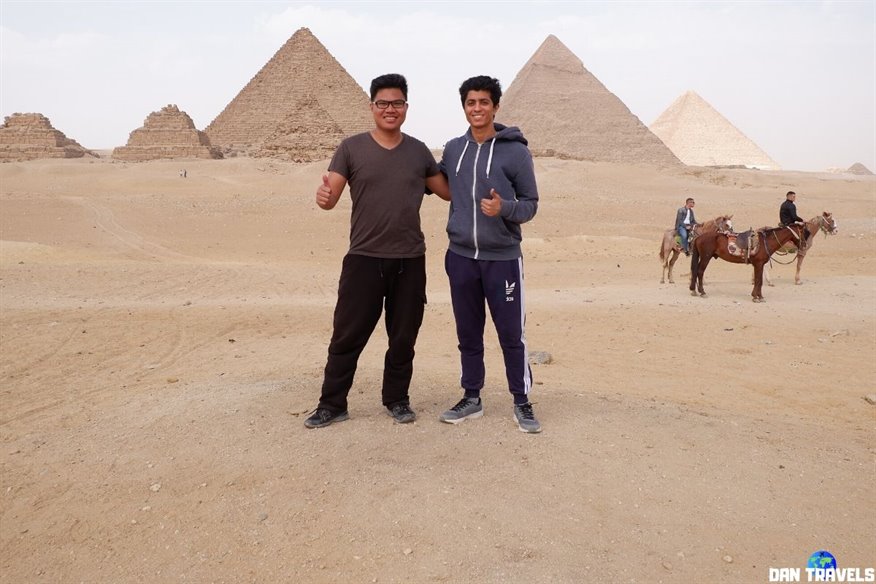
No trip to Egypt is complete without a stay in its capital city of Cairo. While the Pyramids are on every traveler’s bucket list, those are just one of Cairo’s many stunners, and I finally got a chance to see them in person this year! Thus, allow me to share my 4-day Cairo, Egypt itinerary with you complete with my actual day-to-day expenses in this blog.
So get yourself ready! =)
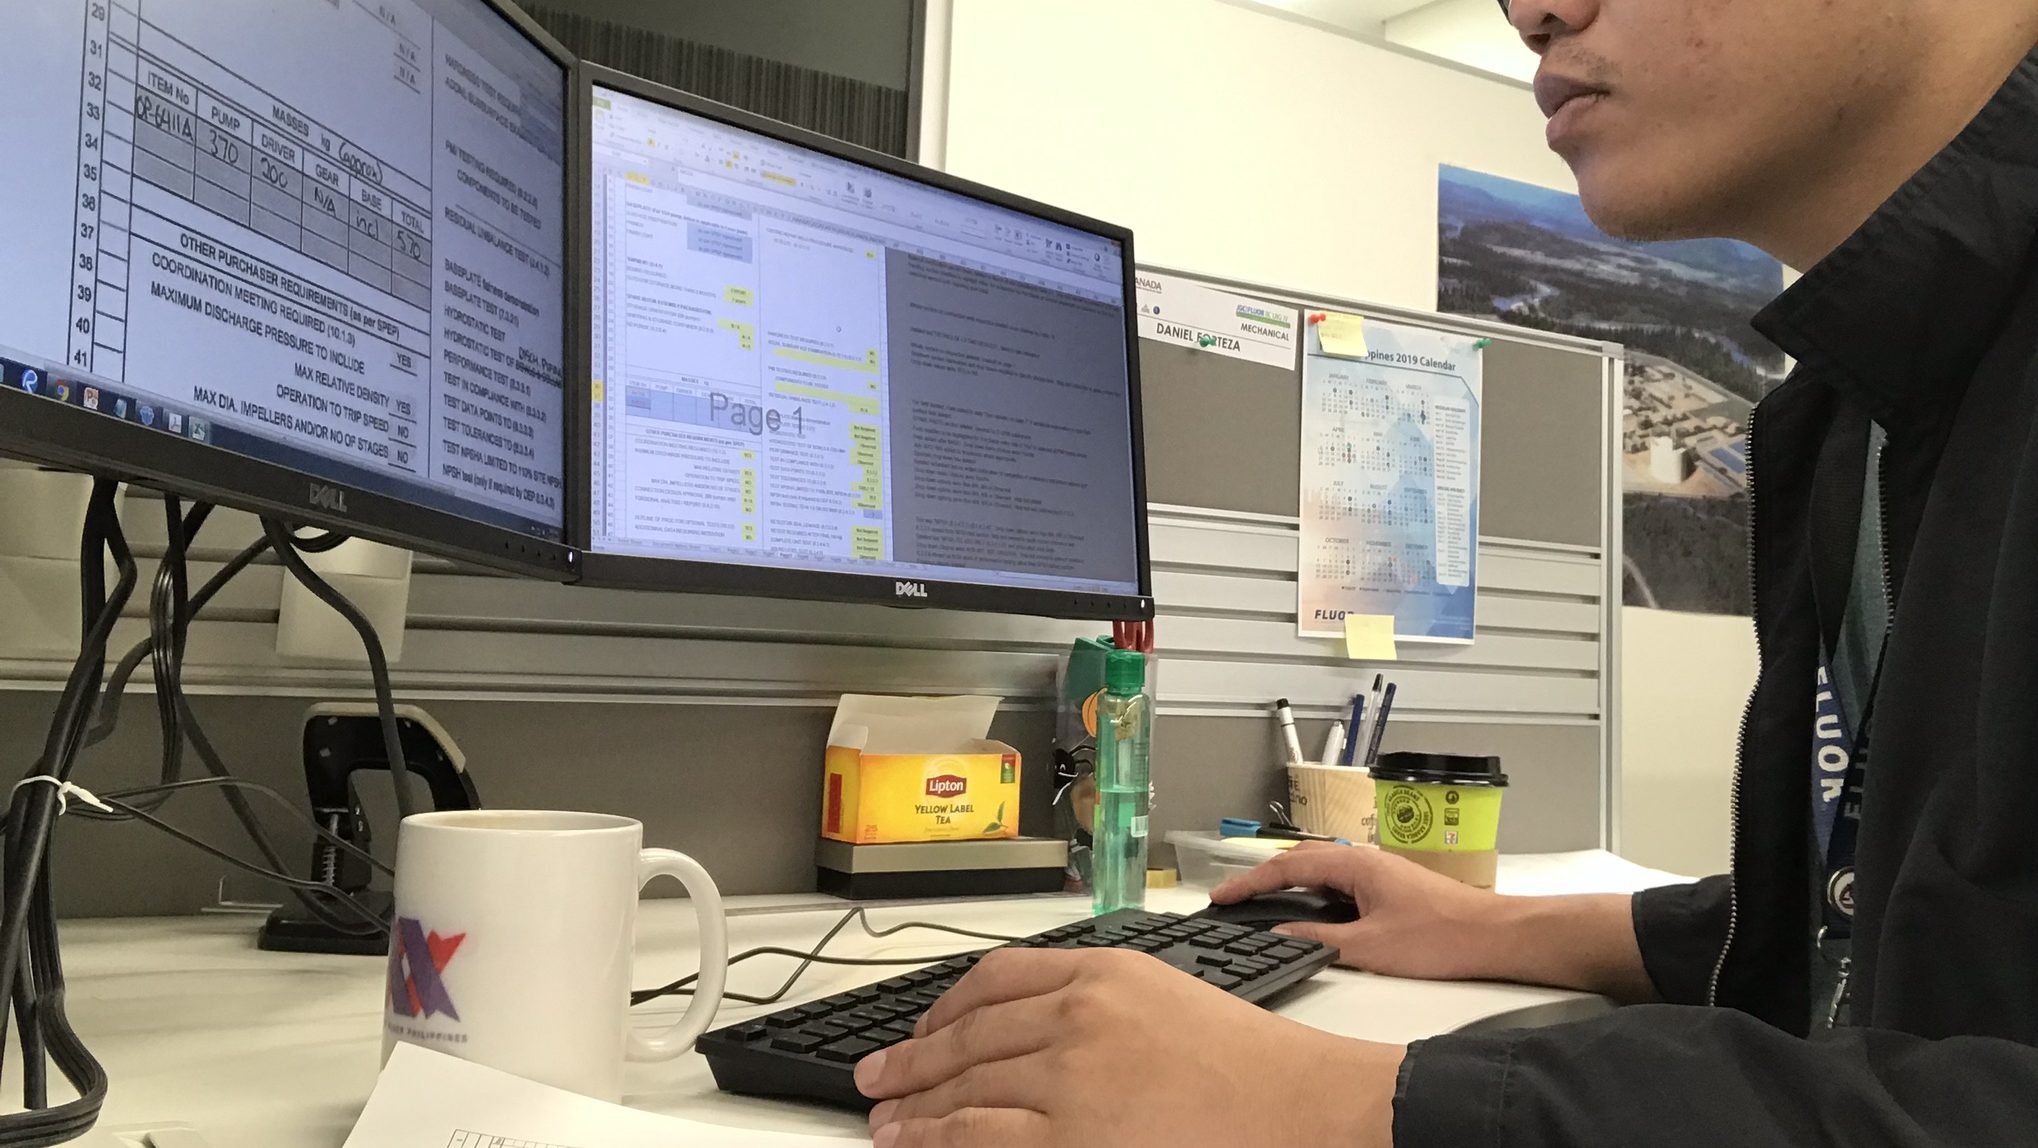
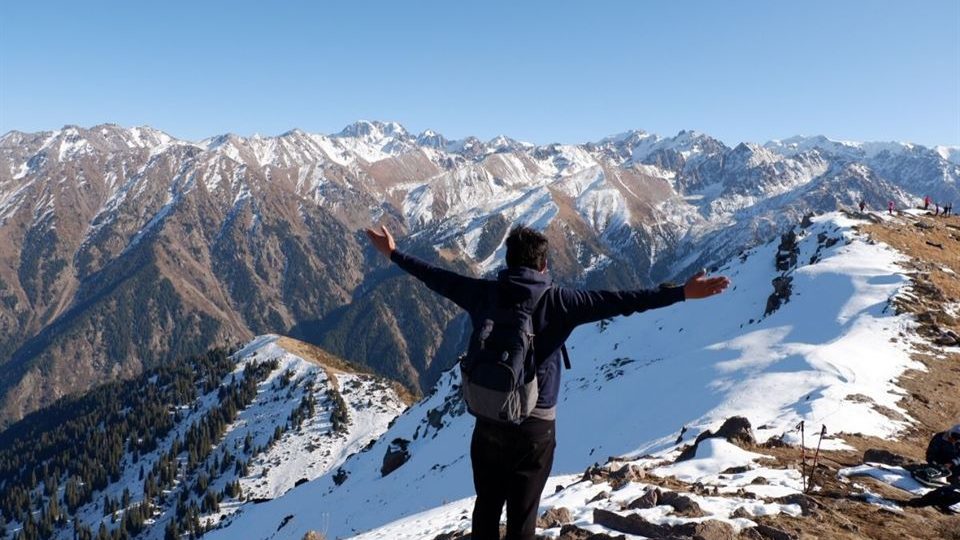
Hi there! First of all, I am Daniel – a solo backpacker from the Philippines. If you don’t know my story yet, feel free to read this article where I talked about how I quit my job in order to travel. This article was also featured on TripZilla Philippines.
But honestly, it’s not just really because of the Great Pyramids of Giza why I wanted to visit Egypt this year. If you’ve been following me for quite a while, you know I am a geek when it comes to Geography.
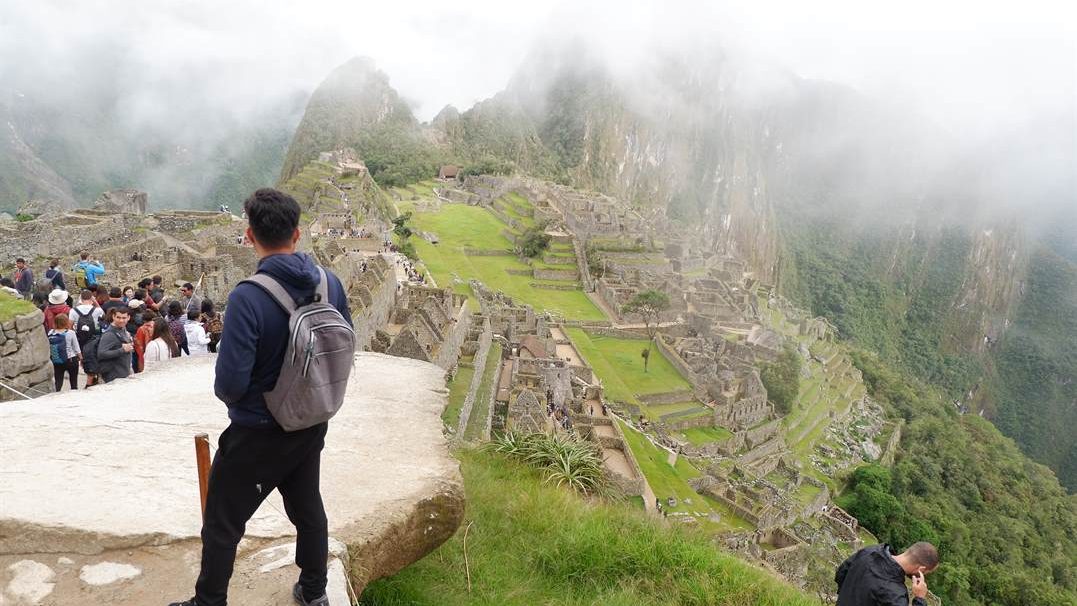
Personally, visiting Egypt officially marks the fifth continent I set foot into: Africa. There are seven of them in the world. And that would mean I only have two more continents to go: North America and Antarctica.
It is my ULTIMATE travel goal to conquer all seven!
Don’t get me wrong though, seeing beforehand the Great Pyramid of Khufu–the sole surviving ancient wonder of the world has always been in my big travel bucket list. I mean who doesn’t?
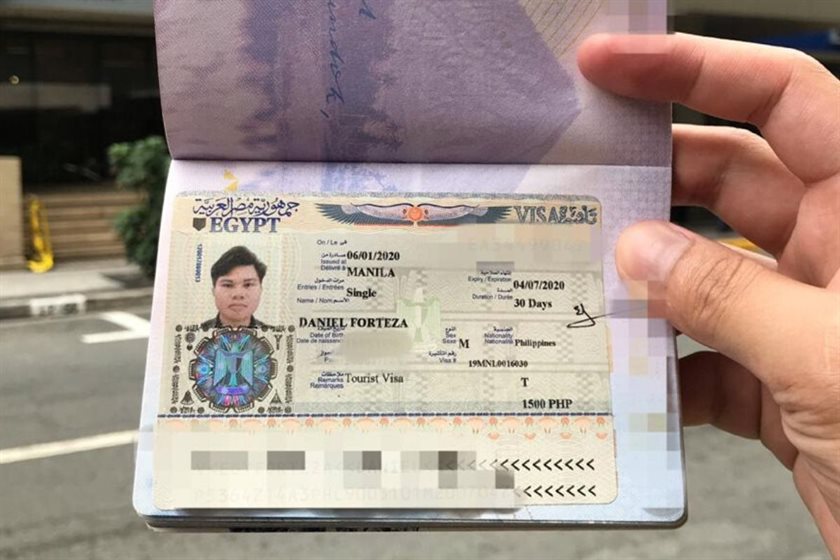
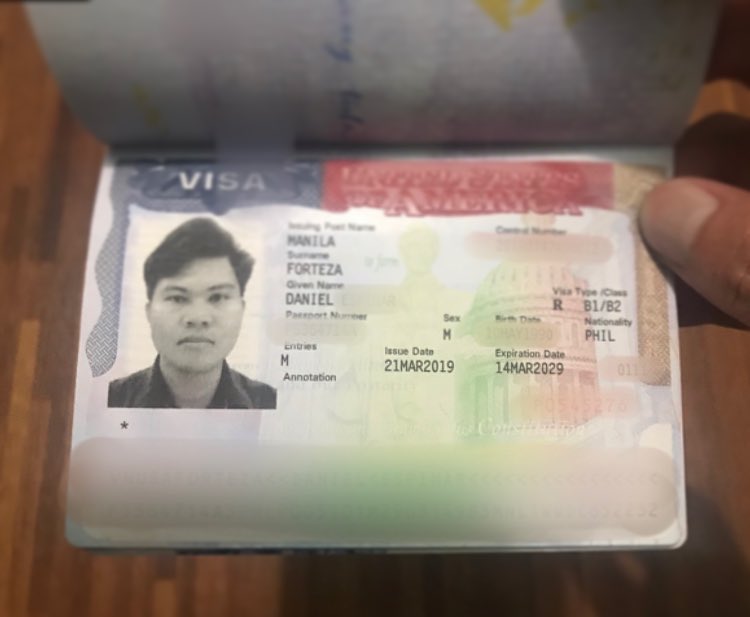
DO YOU NEED A VISA?
First things first–do you need a visa to travel to Egypt?
If you’re also a Philippine Passport holder, you need to secure an Egyptian tourist visa first.
Read: my blog on how to get your Egyptian tourist visa with your Philippine passport.
If you’re from another country, you might want to check first the visa policy of Egypt to verify whether you need a visa or not.
EGYPT 🇪🇬
Language: Arabic (Egyptian dialect)
Capital City: Cairo
Currency: Egyptian Pounds (EGP)
Int’l Airports in this trip: CAI
Preferred mode of transportation: Subway / Bus
Time Zone: GMT +2
HOW I GOT TO EGYPT
Finding a cheap flight ticket going to Egypt from the Asia-Pacific region is easy when using Trip.com flight search engine. I got my economy flight tickets from Manila via Cebu Pacific + Flynas going to Cairo (self-transfer in Dubai.) Then I returned to Southeast Asia (in Bangkok) via EgyptAir.
NOTE: For Philippine Passport holders who will go through flight transfer at Dubai International airport (DXB), you DO NOT need any sort of UAE visa as long as you stay within the airside area of the airport. Even if your next flight is on another terminal, you can transfer with ease using DXB’s terminal-to-terminal transport buses.
Here were my flight itineraries with costs:
- Manila (Philippines) – Dubai (UAE) [$65.51]
- Dubai (UAE) – Cairo (Egypt) [$143.08]
- Cairo (Egypt) – Bangkok (Thailand) [$331.92]
- Subtotal: $540.51
If you’re also coming from the Philippines (or wherever in the world actually), I suggest you check Trip.com as they usually offer cheap fare rates compared to other booking sites. Per my experience, they’re the best!
HOW TO GET AROUND CAIRO?
- Subways / Metro
- Subway or Metro is the best way to get around Cairo especially for first-time travelers. Inexpensive and efficient.
- Signages are both in Arabic and English.
- Tickets cost between 3 to 5 EGP ($0.2 to $0.32) depending on the distance.
- Buses / Minivans
- Another cheap transport network serving the metropolis.
- Signages are in Arabic only, so don’t be shy to ask locals where the bus is going!
- Airport to metro station: 4 EGP ($0.25).
- Downtown Cairo to Giza: 2.5 EGP ($0.16).
- Uber Taxi
- Operates in Cairo and is often much cheaper than standard taxis.
- Hostel to airport: 100 EGP ($6.35).
- Other Transport Travel Tips
- Use offline map apps like Google Maps or Maps.me.
- Remember to walk a little more! As I mentioned in my budget travel tips blog—“walk as much as you can!”
NOTE: I have only listed the transport services I used per my experience during my Egypt itinerary travel.
WHERE DID I STAY IN CAIRO, EGYPT
My Room Accommodation:
- Downtown Cairo, Egypt
- Name (1): Nile Plaza Hostel
- Name (2): Bella Casa Hostel
- Room type: Bunk Bed in Mixed Dormitory Room
- Cost: refer to the day-to-day expenses below
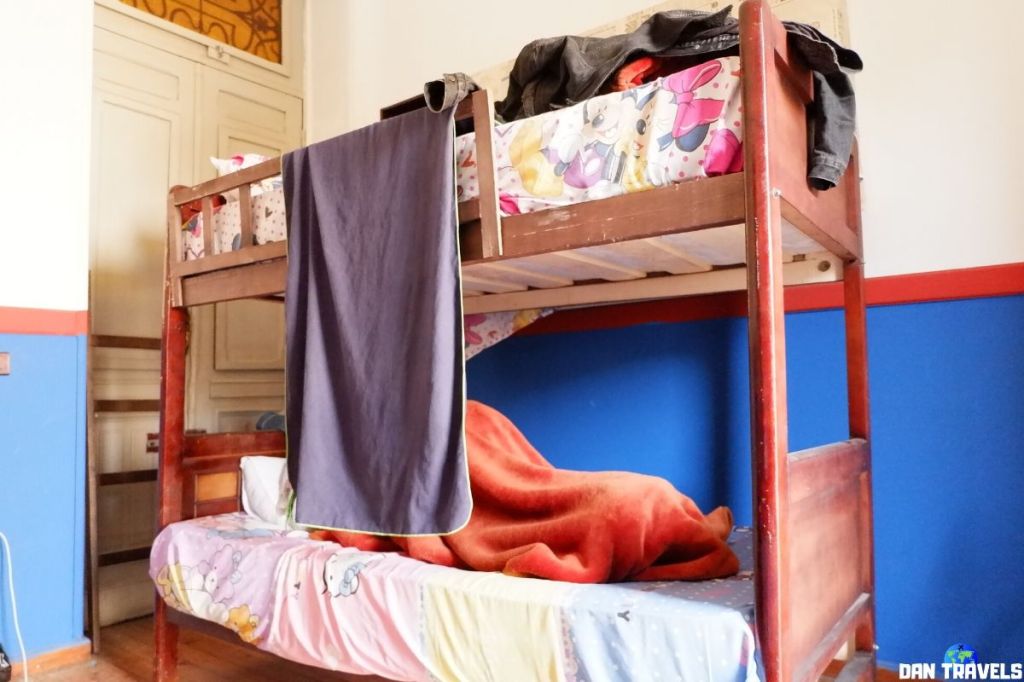
You can book a room through Agoda or Booking.com. I usually use Booking.com as they have free cancellation or pay-at-the-hotel options. If a hotel isn’t to your liking, try Airbnb for a more local feel!
If you’re new to AirBnB, then you can get up to $43 USD free travel credit by signing up via this link.
MY 4-DAY CAIRO, EGYPT ITINERARY with EXPENSES
My 4-day trip to Cairo happens one week before things get crazy on the coronavirus outbreak. I actually intend to travel and see more of Egypt but I ended up taking another week in Cairo just basically staying at my hostel in the hope that the virus will just die out.
However, day by day it was getting worse. I ended up canceling my flight to Morocco and instead I booked a flight to Bangkok, Thailand. I don’t want to be stuck in northern Africa while countries are closing borders and declaring lockdowns. So I decided to seek my refuge in Thailand until the situation improves.
I left Egypt one day before the Egyptian authorities suspend all international flights in and out of the country. So I guess I was lucky that I was even able to get back to Southeast Asia!
Anyway…enough of that! Let’s get back to my detailed day-to-day Egypt itinerary. See below:)
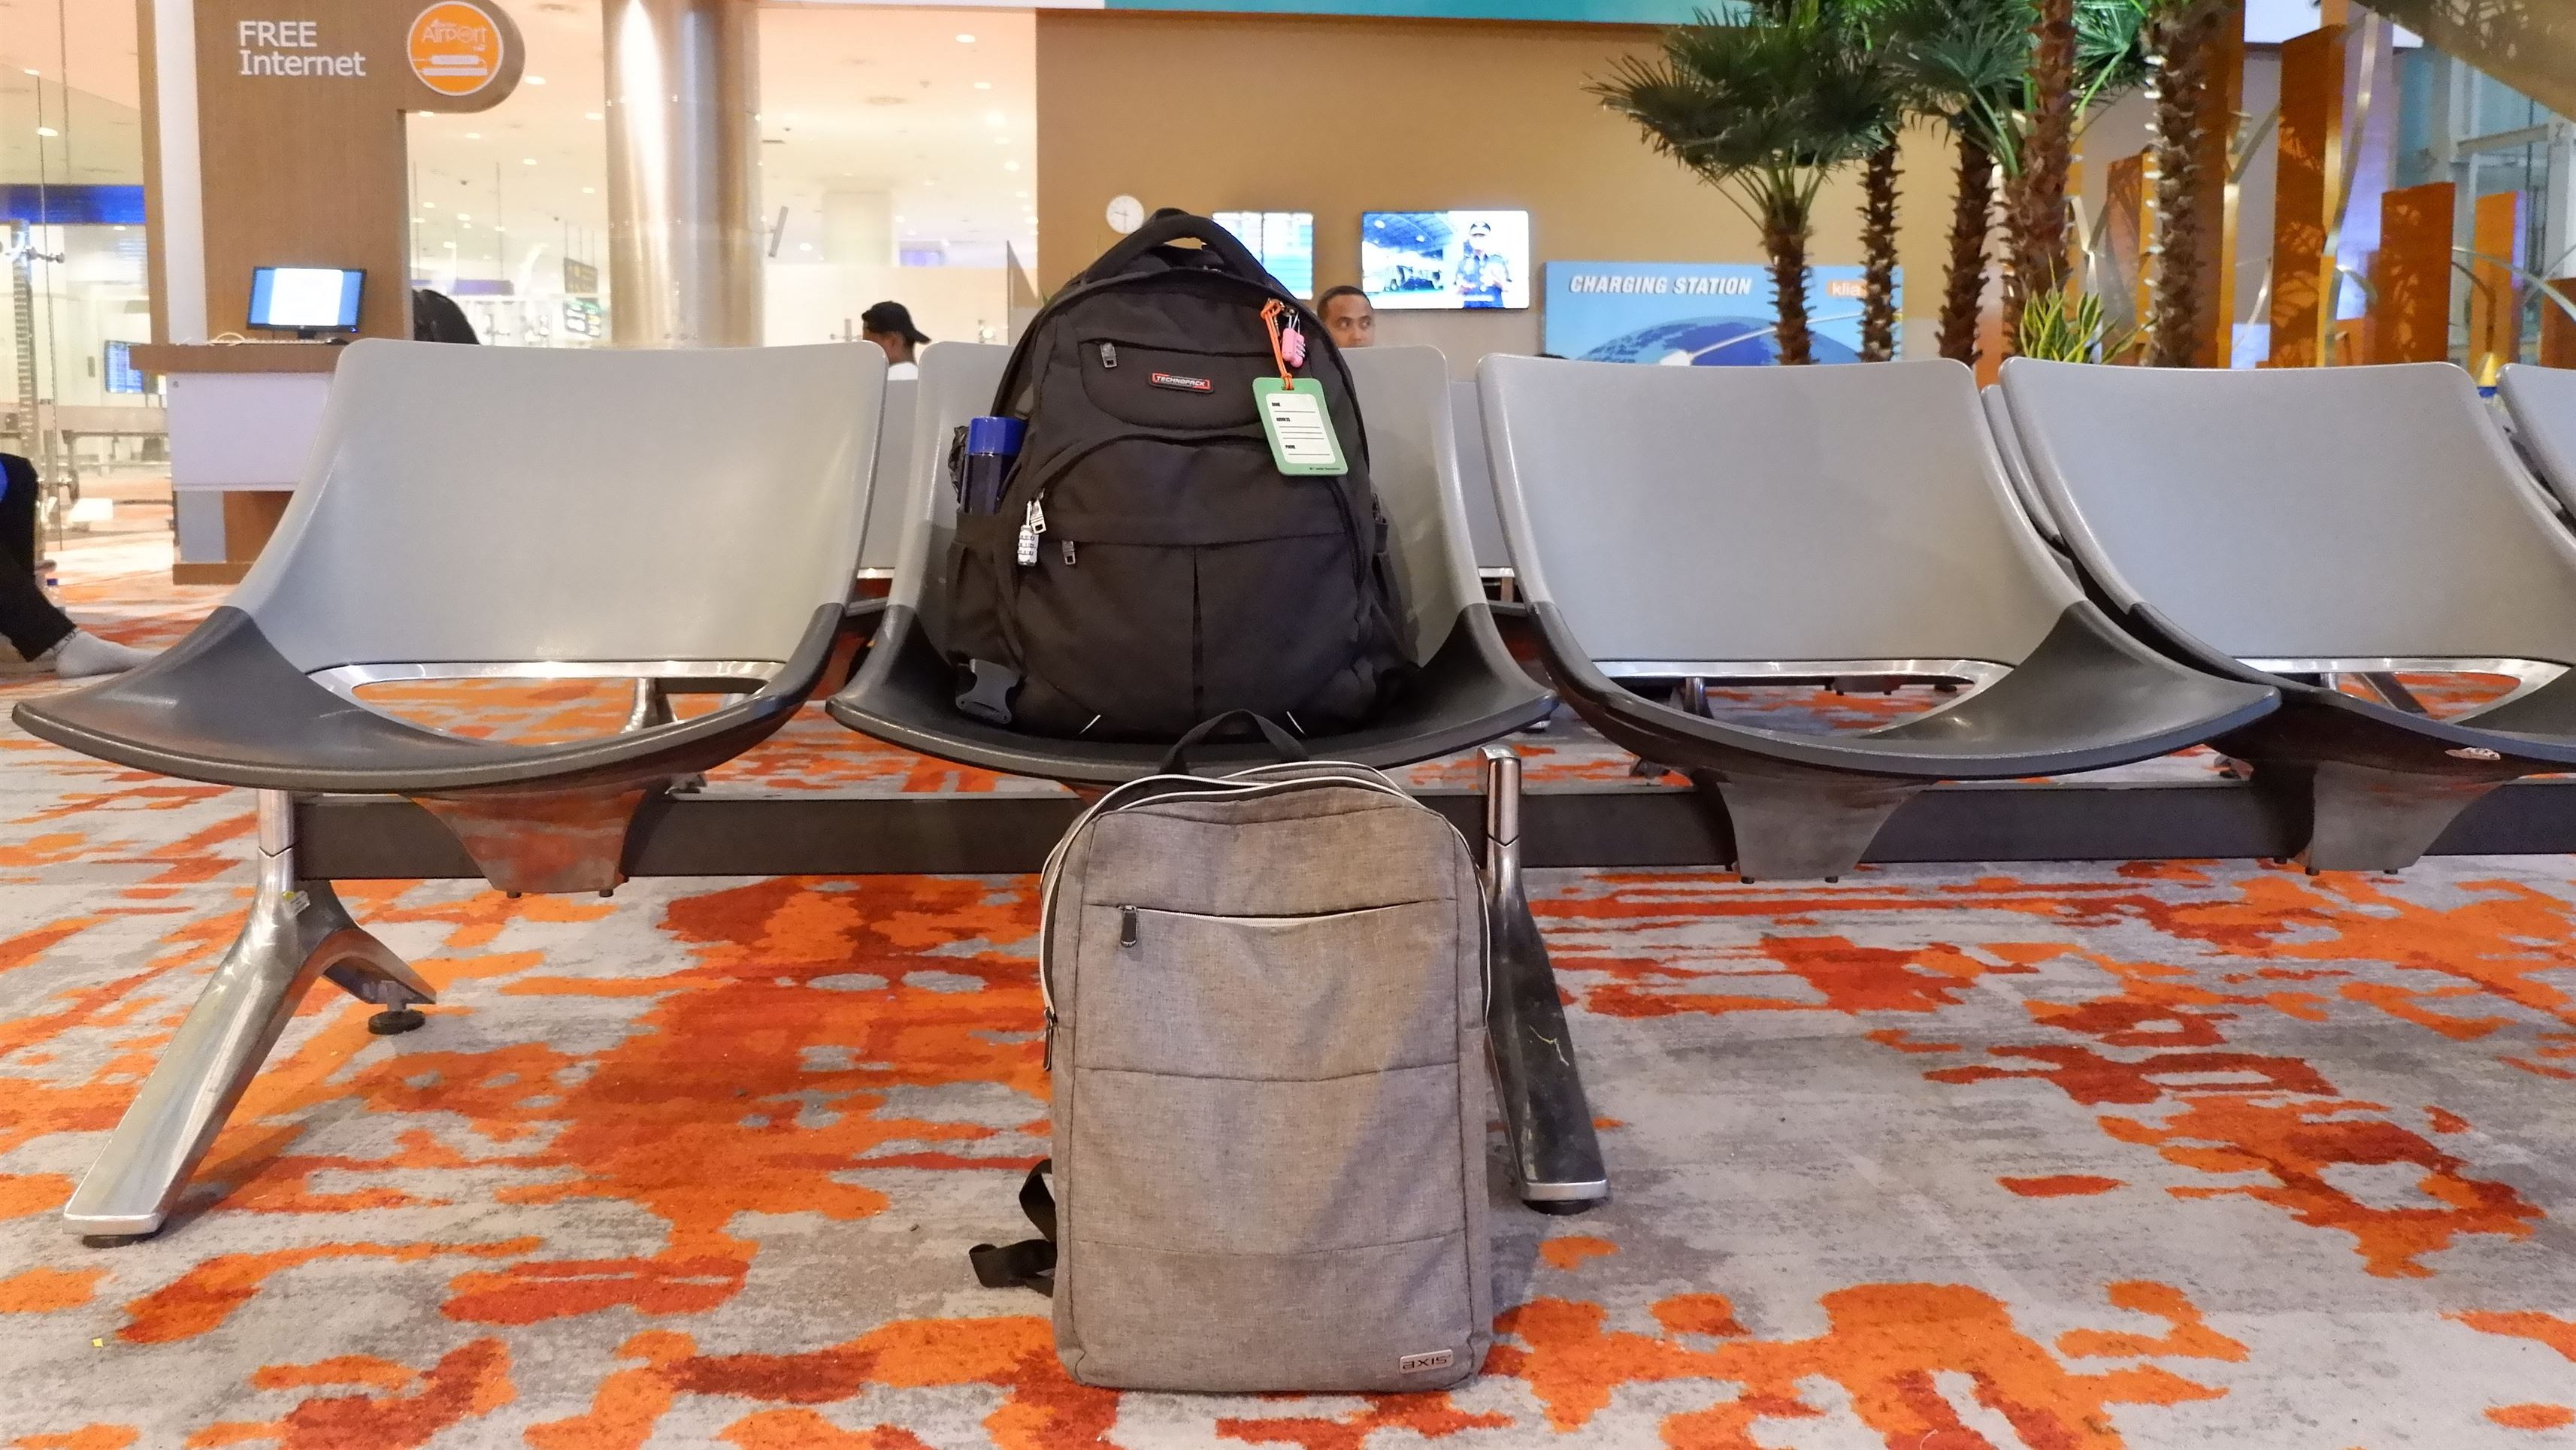
DAY 0: ARRIVAL at CAIRO AIRPORT

- EGP 4 – Bus: Bus terminal to El Shams Club station, see note 1
- EGP 7 – Metro: El Shames station to Attaba station
- EGP 88 – Hostel (Nile Plaza Hostel): 1-Night stay
- EGP 45.5 – Food: McDonald’s Meal
- Subtotal: EGP 144.5 [$9.17]
NOTES:
1 – A guy named Ahmed (in the photo above) helped me with directions. He even paid for my bus fare because the bus conductor didn’t have change for my 200-EGP banknote!
DAY 1: DOWNTOWN & COPTIC CAIRO

- USD 21.39 – Hostel (Bella Casa Hostel): 4-Night stay
- EGP 3 – Metro: Opera station to Mar Girgis station
- EGP 10 – Food: Sandwich Bread
- EGP 10 – Softdrink Miranda
- EGP 5 – Metro: Mar Girgis station to Mohamed Naguib station
- EGP 12 – Food: 4x Instant Noodles
- Subtotal: EGP 377 [$23.9]
NOTES:
Old Cairo (Coptic Cairo) is easily reachable through metro at Mar Girgis station. Mohamed Naguib or Sadat station are the nearest metro stops for Bella Casa Hostel.
DAY 2: MOSQUES OF IBN TULUN & SULTAN HASSAN, AND CAIRO’S CITADEL & MUSEUM

- EGP 12.75 – Food: 3x Croissant Bread
- EGP 9.25 – Food: 1-kg Rice
- EGP 9 – Softdrink: Miranda
- EGP 4 – Bus: El Sayeda Aysha terminal to El Tahrir Square
- EGP 200 – Entrance Fee: Egyptian Museum of Antiquities
- EGP 80 – Top-up internet 3 GB data
- Subtotal: EGP 347 [$22]
NOTES:
I walked almost 3 km to reach Ibn Tulun Mosque from my hostel. Later that night, I met Ebrahim (who I met via a language exchange site); he let me use a spare SIM card, which was a huge help for data!
DAY 3: MOSQUES OF SULTAN AL MU’AYYAD, AL AZHAR, & CAIRO’S AL-MUIZZ LI-DIN ALLAH ST.

- EGP 16 – Food: Bread and Coffee
- EGP 5 – Metro: El Geish station to Mohamed Naguib station
- EGP 6 – Food: 4x Eggs
- EGP 20 – Food: Koshary (the national dish!)
- Subtotal: EGP 56 [$3.56]
NOTES:
Cairo’s Al-Muizz li-Din Allah Street is oozing with fine medieval buildings. It’s free to enter many of these mosques, though be wary of anyone trying to charge you an “entrance fee” while you’re already inside—I had a funny run-in with someone at Sultan al Mu’ayyad and just walked away! Haha.
AL-MUIZZ LI-DIN ALLAH STREET GALLERY

DAY 4: THE GREAT PYRAMIDS

- EGP 20 – Food: Koshary
- EGP 2.5 – Minivan: Charles De Gaulle St to downtown Giza
- EGP 5 – Minivan: Downtown Giza to Pyramids entrance
- EGP 200 – Pyramids Entrance Ticket (Main gate)
- EGP 33 – Food: Koshary (again!)
- EGP 9 – Return Minivans to downtown Giza and Cairo
- EGP 13 – Food: Canned Tuna
- Subtotal: EGP 282.5 [$17.94]
NOTES:
Visiting Hours are typically 8:00 AM – 4:00 PM. I didn’t use a horse or camel; I walked the whole complex! The best view is from ‘the Panorama’ dunes. If you walk, just be mindful of scammers—ask if something is free before agreeing to a photo, as typically nothing is free there! Haha.
And there you have it! Including the flight costs, here is the overall total of my expenses in Egypt for 4 days:
TOTAL: $540.5 (flights) + $76.6 (on the ground costs)
OVERALL TOTAL: $617.10
RECOMMENDED TOUR PACKAGES
If you have more days to spend in Egypt, you might consider these cool package tours:
- Private Tour of Pyramids, Sphinx, & Museum
- Full-Day Giza, Memphis, and Sakkara
- Alexandria Day Tour from Cairo
BOOKING ESSENTIALS
- Accommodation: Booking.com is my go-to for hostels with free cancellation.
- Flights: Trip.com usually has the cheapest rates from the Philippines and Asia.
- Local Experiences: Viator is the best resource for booking guided tours in advance.